%20final_edited_edited.png)
Everything You Need to Know About Swatching for the Shelley Sweater
- Aug 24, 2023
- 8 min read
Good Morning! Yesterday I published all the details about how the #ShelleySweaterCAL will work, and a range of tester samples in this blog post.
I recommend that you read through that information, then come back to get started with swatching.

We are going to dive straight in! This blog is the same as the content that makes up the first 6 pages of the pattern, ending with written swatching instructions and stitch chart. You can try out the stitches and get a feel for the project before deciding if it's right for you!
The remainder of pattern is a paid pattern available from Ravelry and Etsy. Please note the pattern is available in both US and UK terms, but my blog only uses UK terminology.
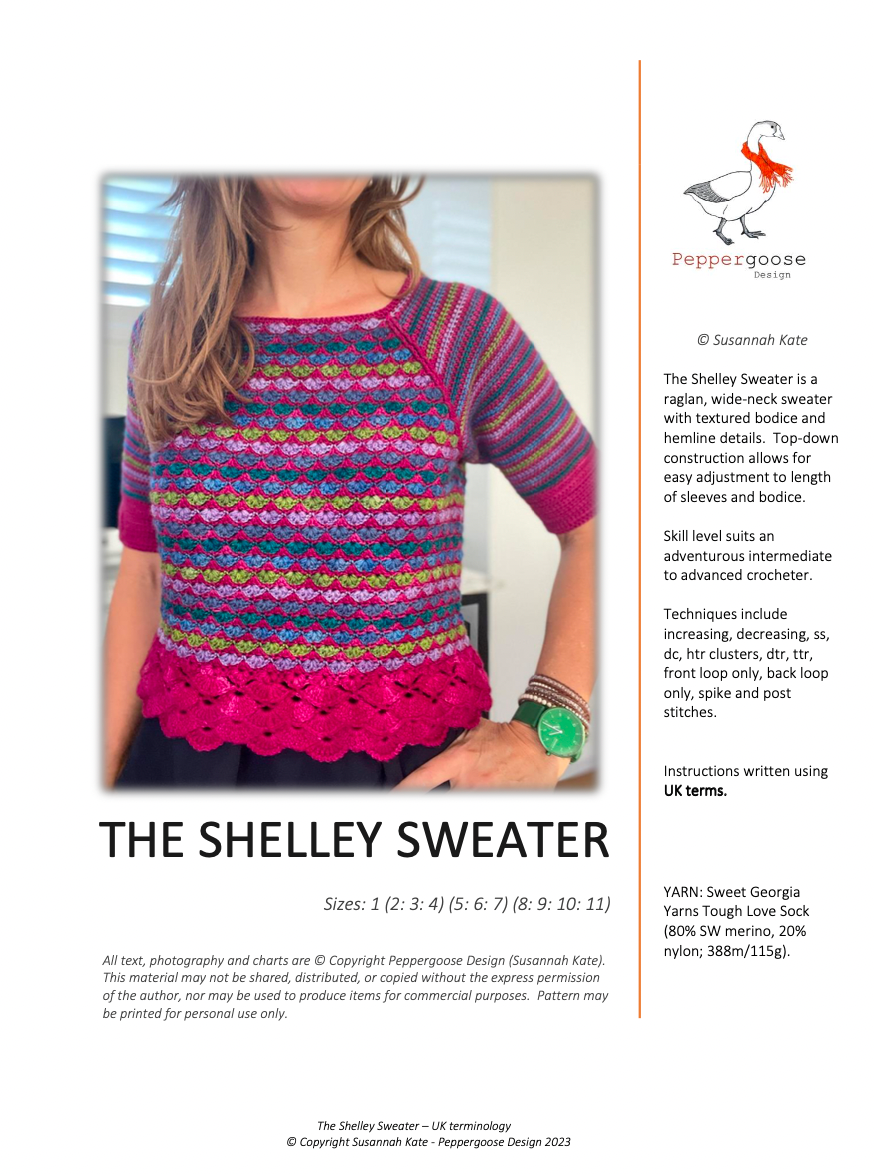
Cover Page Screenshot
Pattern Overview
The Shelley Sweater is constructed top-down in the round. PUFF fabric forms the Bodice and htr fabric forms the Sleeves. Initial rounds form the Upper-Bodice and Sleeves to level of Underarm, then Bodice is separated from the Sleeves. Lower Bodice is added in the round and finished with a feature lacy, textured Hemline. Lower Sleeves are added in the round and completed with a feature Placket Cuff. Finally, the Neckline is finished with a simple minimalist trim. Block finished garment to size.
Here is the schematic, yardage and hook information from the pattern:


How to Choose Your Size
Choose your size such that finished garment bust circumference (refer to above charts) accommodates your measured bust circumference plus your preferred positive ease. The Shelley Sweater is intended to have 0-5cm positive ease at the bust, with 5cm positive ease demonstrated in the photo on page 1.
To estimate how much positive ease you prefer, review this launch blog post for photos of tester samples with details of demonstrated ease. You can also check the bust circumference of your favourite sweater.
The Sleeves are intended to have moving room at the underarm and be fitted at the mid upper arm. The Sleeve circumference can easily be enlarged by omitting some of the decreases, so if between sizes choose the smaller size.
Custom Fit Tips
The top-down construction method allows you to try the sweater on as you go and adjust fit at the level of Underarm if required, by altering number of rounds worked to Underarm and/or number of pattern-repeats under each arm. Underarm adjustments affect both Bodice and Sleeves.
Sleeve circumference is easy to adjust (without affecting Bodice) by adding or omitting some decreases in the initial Lower Sleeve rounds.
Sleeve and/or Bodice length is easily adjusted by adding or omitting rounds. Refer to above charts for guidance on extra yarn required per 2 rounds of Lower Bodice.
Tapered waist: If you prefer, you could move this shaping up towards the under bust or work them just like the rest of the Bodice if you don’t want the shaping. If you choose to omit the tapering, you will require extra yarn.
Gauge chart from the pattern:

PUFF gauge is the priority if both htr and PUFF gauge are not possible. This is because PUFF gauge corresponds to bust circumference (and is the basis of your size choice), and htr gauge corresponds to Sleeve circumference.
Some yarns required a 3.25mm hook for htr Sleeve Sections and 3.5mm hook for PUFF Sections to achieve gauge across the whole garment. See Swatching Information below.
Yarn Substitution Guidance
Sweet Georgia Yarns Tough Love Sock was used to design this sweater and is a blend of 80% SW merino/20% nylon, at 388m/115g skein = 3.4m/g (divide 388 by 115).
Going lower than 3.4m/g is likely to cause your garment to end up too bulky; higher than 3.6m/g is likely to cause your garment to end up a bit too small. I recommend a similar (merino) fibre blend that is 3.4 - 3.6 metres per gram and begin swatching with a 3.25mm hook – going up or down as described above if your gauge doesn’t match mine. Final assessment for suitability should be made from a blocked swatch.
My 2nd and 3rd samples were made with:
Life In The Long Grass Moon (80% SW merino, 20% silk; 365m/100g) & 3.25mm hook.
Morris & Sons Empire 4ply (100% superfine merino; 175m/50g) & 3.5mmm hook.
Swatching Information
The Shelley Sweater uses htr sts for the Sleeves and a textured PUFF lace for the Bodice and they need to align, so I have combined the 2 fabrics in the one swatch. We will only work full PUFF motifs in the garment but to keep the swatch square there will be some half-PUFFs at the edges of the PUFF lace section.
Understanding Fabric Characteristics
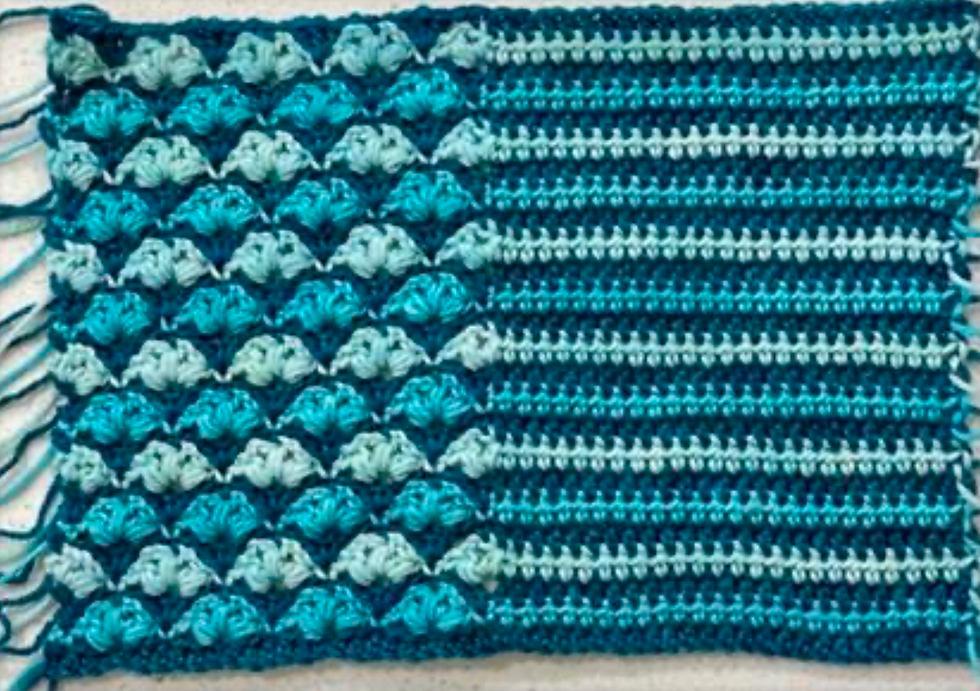
These fabrics behave a bit differently during blocking. As you work, the htr row side of your swatch is shorter than your PUFF side. After blocking, the htr stitches redistribute to sit in a taller and narrower configuration, so the swatch becomes a rectangle and the htr rows come up even with your PUFFs. Here is a photo of my pre-blocked but well-handled swatch using Sweet Georgia Yarns Tough Love Sock (3.4m/g; merino/nylon blend). Yarn A is the dark blue; Yarn B is the other alternating colours.

You will notice the PUFF side slants and diverges from the htr fabric because it’s compressed by the (currently) shorter htr rows. Don’t be alarmed if yours looks shorter to begin with – once blocked it looks like this:
During wet blocking the colours ran a little in the water, so I know to use a colour catcher cloth (available from supermarkets in the laundry section) when I block my finished sweater.
Understanding the Impact of Colour Choices
We turn between rows to create the swatch and turn between rounds to create the garment. If swatching in 1 colour there will only be a tail at beg and end of the swatch. I have changed colour every row though, so you can see a tail at each end of each row in the above images. I used the “Join New Yarn” method described in Special Abbreviations, but you could use a standing stitch instead.
The pattern calls for Yarn A (the dark blue) and Yarn B (I alternated light and mid blues for this). For the garment, if you use 1 colour for Yarn A and 1 colour for Yarn B, then the unused yarn floats up the WS of garment. If you use 1 colour throughout, then you don’t have to worry about floats at all.
However, if you want to use a combination of colours for Yarn B in your garment (I used 5 colours for my prototype as it was a Party of 5 set of mini skeins to contrast against my pink Yarn A), then there will be a tail for every 2nd round of the garment (yes, really) - so bear this in mind when choosing your colours! The swatch shown above uses 2 colours for Yarn B and I do like the effect – but you need to like it A LOT for the garment to deal with the tails at the end.
Abbreviations for Swatching (UK terms)
[ ] number of sts on a given row/round
approx. approximately
beg beginning
ch(s) chain(s) or chain st(s)
cl(s) cluster(s)
cont continue(d)
dc double crochet
htr half treble crochet
lp(s) loop(s)
patt(s) pattern(s)
prev previous
rep(s) repeat(s)
RS right side
sp(s) space(s)
st(s) stitch(es)
tr treble crochet
WS wrong side
yoh yarn over hook
Special Abbreviations for Swatching
Fdc Foundation Double Crochet (this works both a row of chain and a row of dc at the same time and is stretchy so won’t restrict the drape of the finished square): Ch2, insert hook into beg ch (insert hook under 2 lps), yoh, pull up lp, yoh, draw through 1 lp (first ch made), yoh, draw through 2 lps (first dc made completing the first fdc), cont to: (insert hook into prev ch (under 2 lps), yoh, pull up lp, yoh, draw through 1 lp, yoh, draw through 2 lps) to make 2nd and all subsequent required fdc.
2htr-cl (yoh, insert hook into indicated st/sp, yoh, pull up lp) 2 times, yoh, draw through all (5) lps.
3htr-cl (yoh, insert hook into indicated st/sp, yoh, pull up lp) 3 times, yoh, draw through all (7) lps.
Join New Yarn Without a starting lp on your hook, insert hook into indicated st/sp, yoh, pull up a lp (leave a 15 cm tail on other side of work), ch1 to secure yarn (does not count as st). Work next instruction in same place as this join then pull beg tail firmly to collapse the ch1 and reduce bulk.
PUFF ((3htr-cl, ch2) twice, 3htr-cl, ch1) into indicated st/sp. The last ch should be pulled tight to collapse the chain – its function is to secure the last cl threads before working the next st, not to add width to the PUFF.
How To Process & Block Your Swatch
Note down your pre and post blocked swatch gauge, then when making the garment you can check your WIP against pre-blocked gauge and be reassured you are on track for post blocked gauge at the end of the project.
To block, soak for 20-30 mins (or longer) in warm water that has a wetting agent added like laundry liquid or wool mix, rinse thoroughly in tepid water, roll out excess moisture in a towel a few times then just gently lay it out flat to desired gauge and let it dry – no pinning. I put mine out in the sun to make it quick.
Lightly steam block to desired gauge and when dry, loosen up the fabric in both directions a bit, bunch it lightly in your hand, drop it lightly on a flat surface so the fabric finds its own “relaxed state” and lightly stroke it vertically across the rows to mimic gravity on the body then measure gauge with a ruler.
Off gauge?
Too few sts/patt reps per specified measurement then each one is too large
--> reduce hook size
Too many sts/patt reps per specified measurement then each one is too small
--> increase hook size
…and swatch again with your new chosen hook size.
Swatching Instructions
If swatching in 2 colours (Yarn A & Yarn B):
Yarn A (hot pink in prototype) is used for fdc and all non-PUFF rows of your swatch (odd numbered RS rows).
Yarn B (other colours in prototype) is used for all PUFF rows (even numbered WS rows).
Foundation Row: Work 50 fdc, turn.
Row 1 (RS) Ch1 (does not count as st here and throughout swatch) , htr across (this means work 1 htr in each st across), turn. [50 htr]
Row 2 (WS) Ch1, (1dc, skip 2 sts, PUFF, skip 2 sts) 4 times, 1dc, 25 htr, turn.
[4 patt reps of (1 dc, 1 PUFF) plus 1 dc, 25 htr]
Row 3 (RS) Ch2 (does not count as st here and throughout swatch), 25 htr, 2tr in next dc, ch1, ((1dc, ch1) in top of next PUFF, (3tr, ch1) in next dc) 3 times, (1dc, ch1) in top of next PUFF, 2tr in next dc, turn.
[25 htr, 2 tr, 1 ch, 3 patt reps of (1 dc, 1 ch, 3 tr, 1 ch) plus 1 dc, 1 ch, 2 tr]
Row 4 (WS) Ch2, (2htr-cl, ch2, 3htr-cl, ch1) in last tr of prev row, (skip 2 sts (the tr and 1 ch), 1dc in next dc, skip 2 sts (1 ch and the tr), PUFF in next tr) 3 times, skip 2 sts (the tr and 1 ch), 1dc in next dc, skip 2 sts (1 ch and the tr), (3htr-cl, ch2, 2htr-cl) in next tr, 25 htr, turn.
[half-PUFF, 3 patt reps of (1 dc, 1 PUFF) plus 1 dc, half-PUFF, 25 htr]
Row 5 (RS) Ch2, 25 htr, (1dc, ch1) in top of next half-PUFF (in the 2htr-cl), skip 3 sts (2 ch and the 3htr-cl), ((3tr, ch1) in next dc, (1dc, ch1) in top of next PUFF) 3 times, (3tr, ch1) in next dc, 1dc in top of next half-PUFF (in the 2htr-cl), turn.
[25 htr, 1 dc, 1 ch, 3 patt reps of (3 tr, 1 ch, 1 dc, 1 ch) plus 3 tr, 1 ch, 1 dc]
Rows 6-25 Cont in patt as described by prev 4 rows for 20 more rows.
Completed swatch weight approx. 25g using Sweet Georgia Yarn Tough Love Sock which is 3.4m/g – ie.85m.
Chart to help with Swatching

There we have it! First swatch done. Don't be disheartened if you swatch a couple of times to figure out how to get gauge or very close to gauge.
Swatching helps you understand how your project will behave in the yarn you have chosen too - lots of benefits! If you want to go rogue with yarn, read my Yarn Substitution Tips blog post for more discussion and tips for how to choose a substitute yarn and if it's going to work.
Don't forget you can also check out the yarns my testers used in this blog.
I will be checking in a few times a day into Pepper-Gaggle to answer questions - see you there and happy swatching!
Susannah (Peppergoose)


Comments